This
area is essentially a miniature version of the power house air
handling facility with the exception that it is intended to supply the
complex itself and not 4 very large diesel generators. Now that
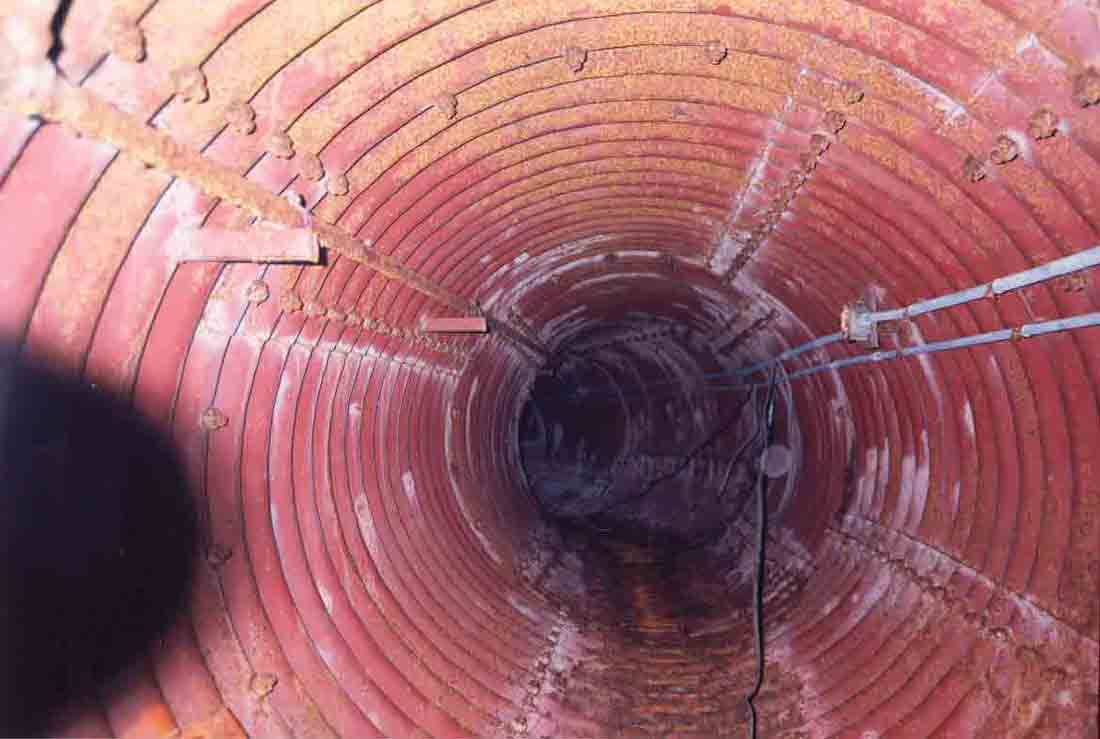
you've squirmed through the sphincteresque access tunnel, you find
yourself crouching in a 5' diameter tunnel with primer-red walls that
look just a little too much like a view through a colonoscope.
Having emerged somewhere in the middle, the passage leads off into
darkness in 2 directions. Unless you represent the Lollipop
Guild, you'll find moving through these tunnels awkward and
uncomfortable.
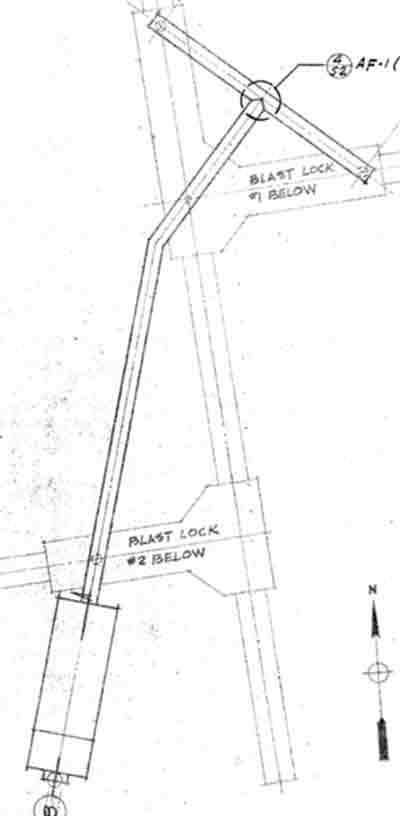
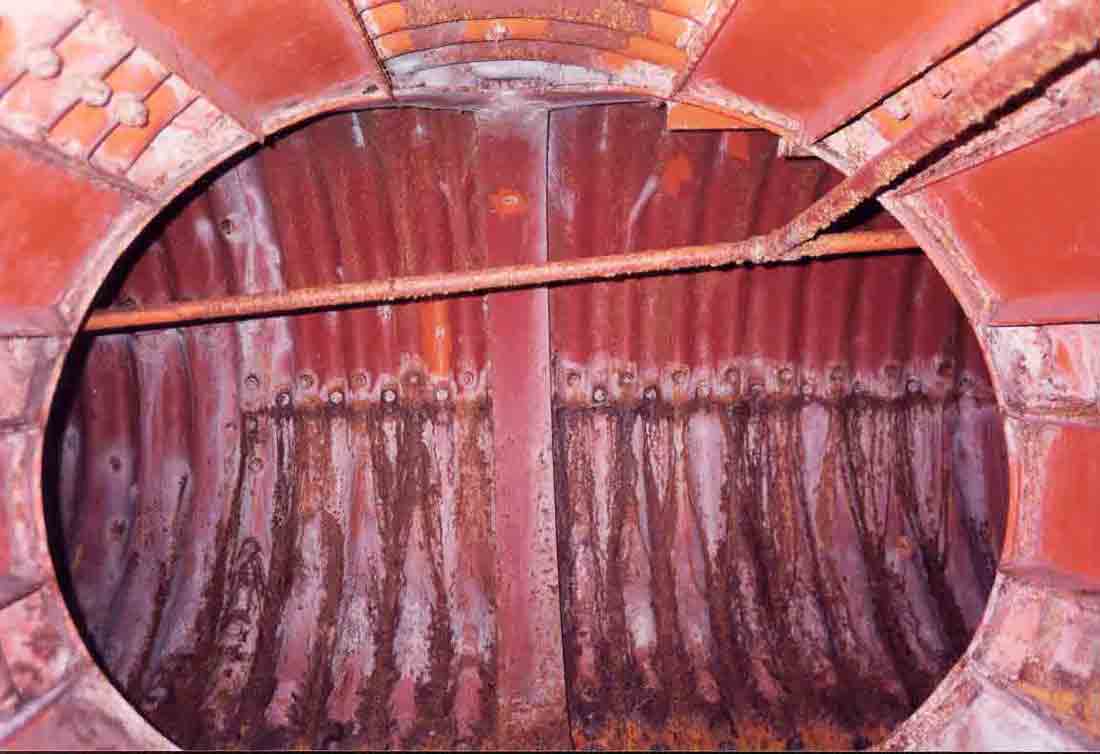
Heading
north the tunnel splits to send air to different sections of blast
lock #1 (see fig. 6 above). I imagine it was once quite breezy
in here with the fan operating. Better keep moving, the CHUDs
come when you sit still too long.
|
Ok,
it's a T-shaped tunnel junction. Not much to say about this
really...
|
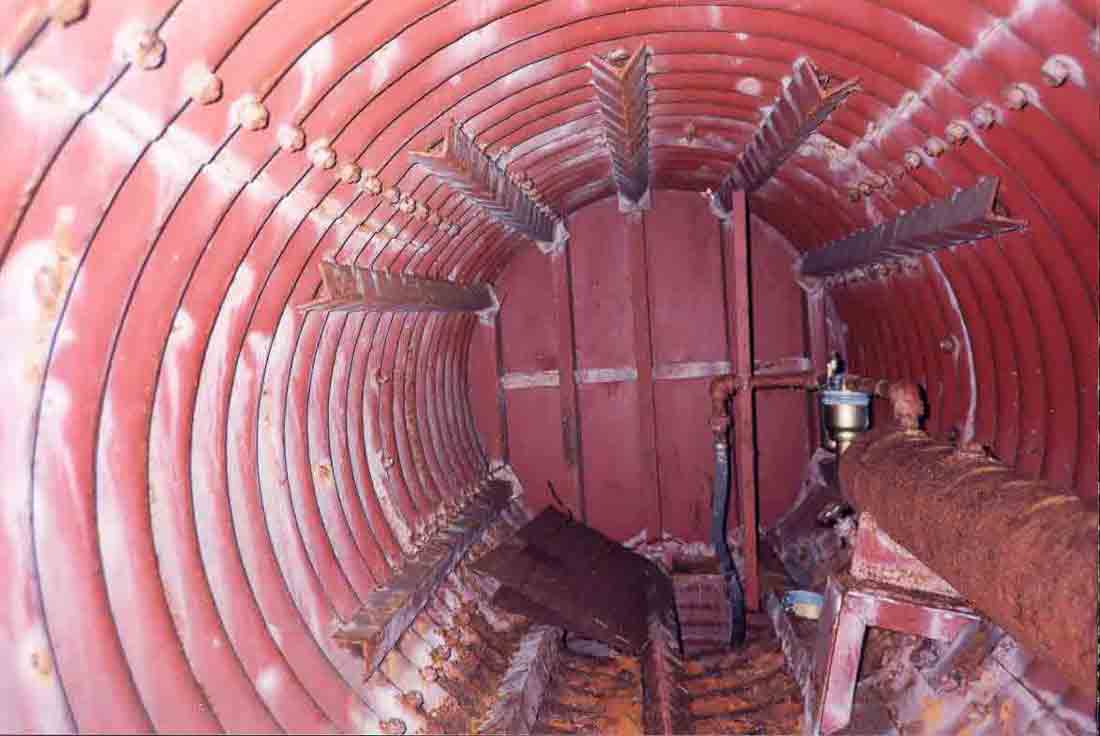
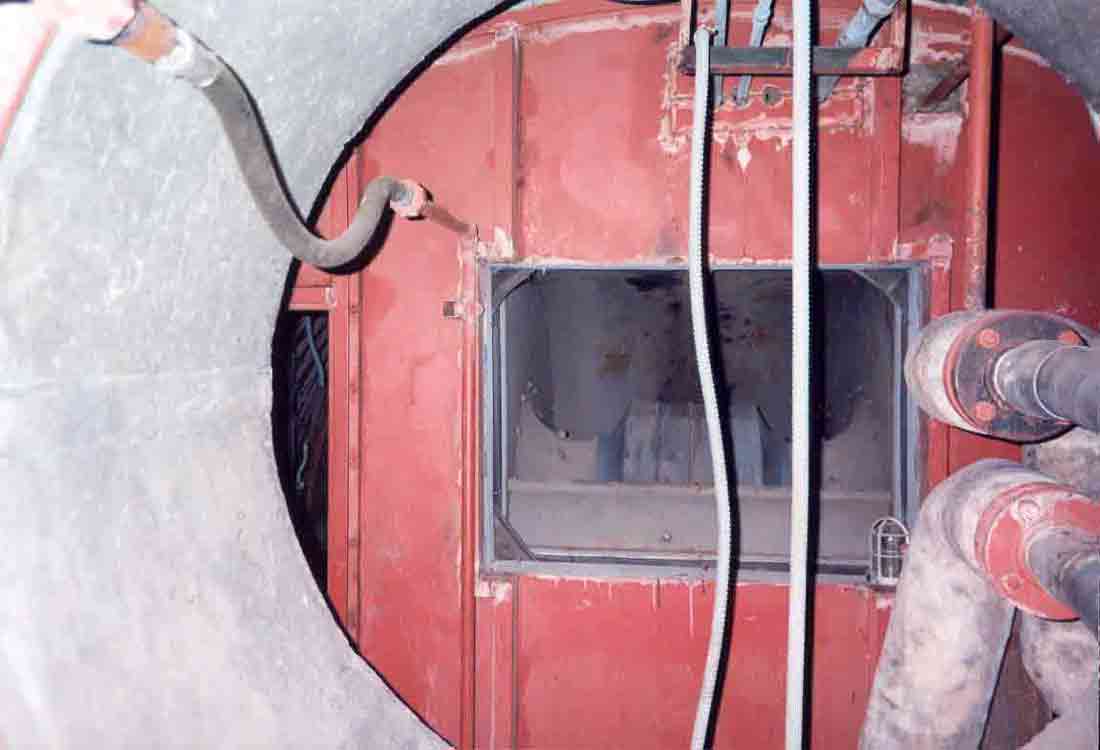
Moving on, we
arrive at the blast valves that lead to the blast lock below. If
I'm not mistaken, the hose leading down in the next picture is the
compressed air conduit that supplied the blast valve (hey, what else
could it be? If you have a better guess, let's hear it.) and is
attached to a nearby pressure accumulator (at right) maintained at
somewhere between 200 and 300psi.
|
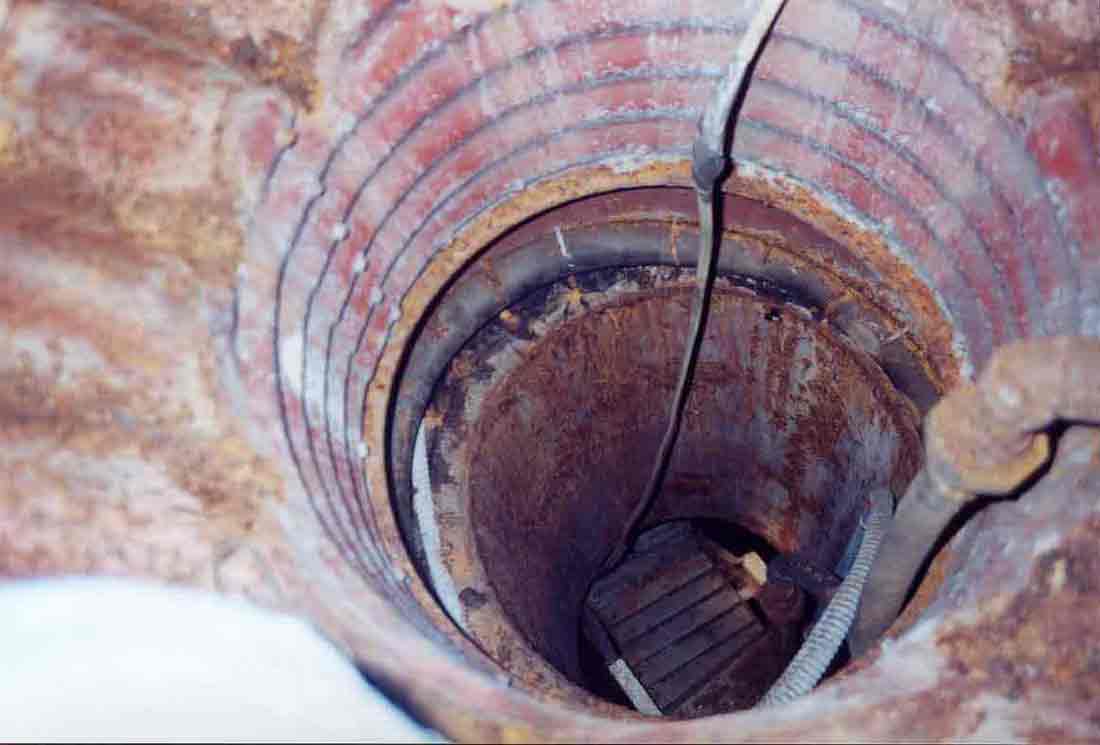
The
tunnel dead-ends at the blast valves. Although I didn't see any
condensation when I visited, clearly the rust at the bottom of the
tunnel is coming from somewhere. Must be seasonal.
|
|
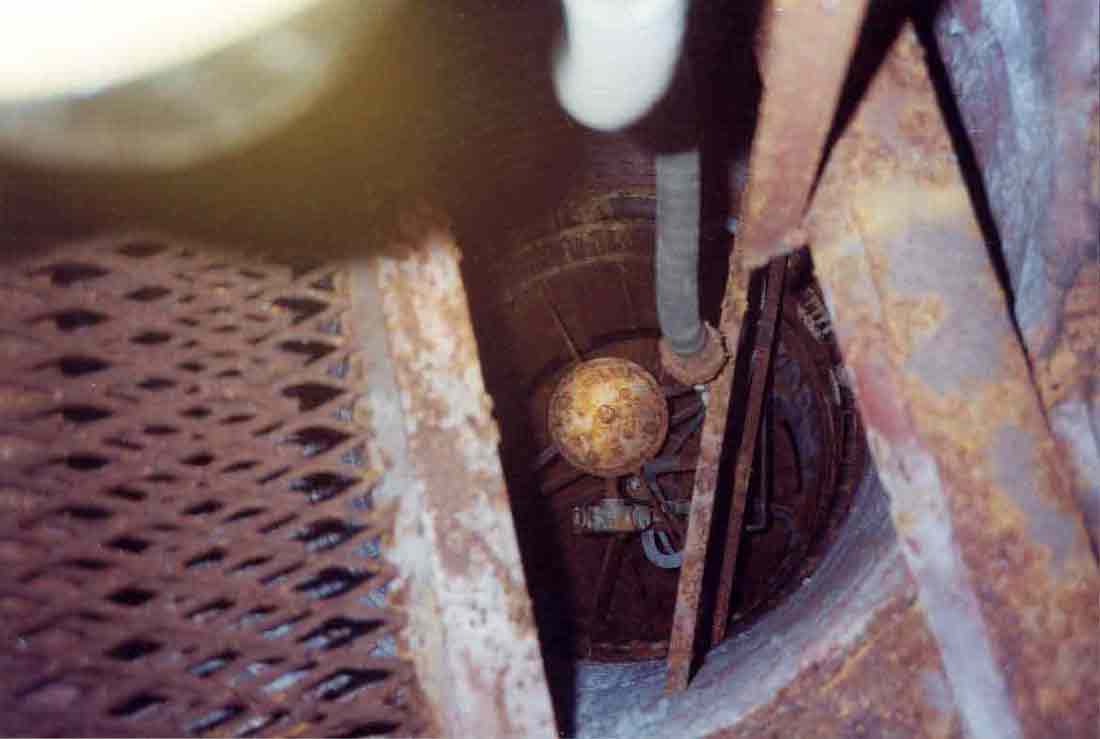
Looking
down at the 36" blast valve.
|
The
other tunnel looks the same so let's head to the filtration area where
there's a lot more to see. A rusty grating covered the drop
shaft to another blast valve at blast lock #2 but I am distrustful and
stepped over it carefully. Look! There's that electrical
cable resting in the bottom of the tunnel!
|
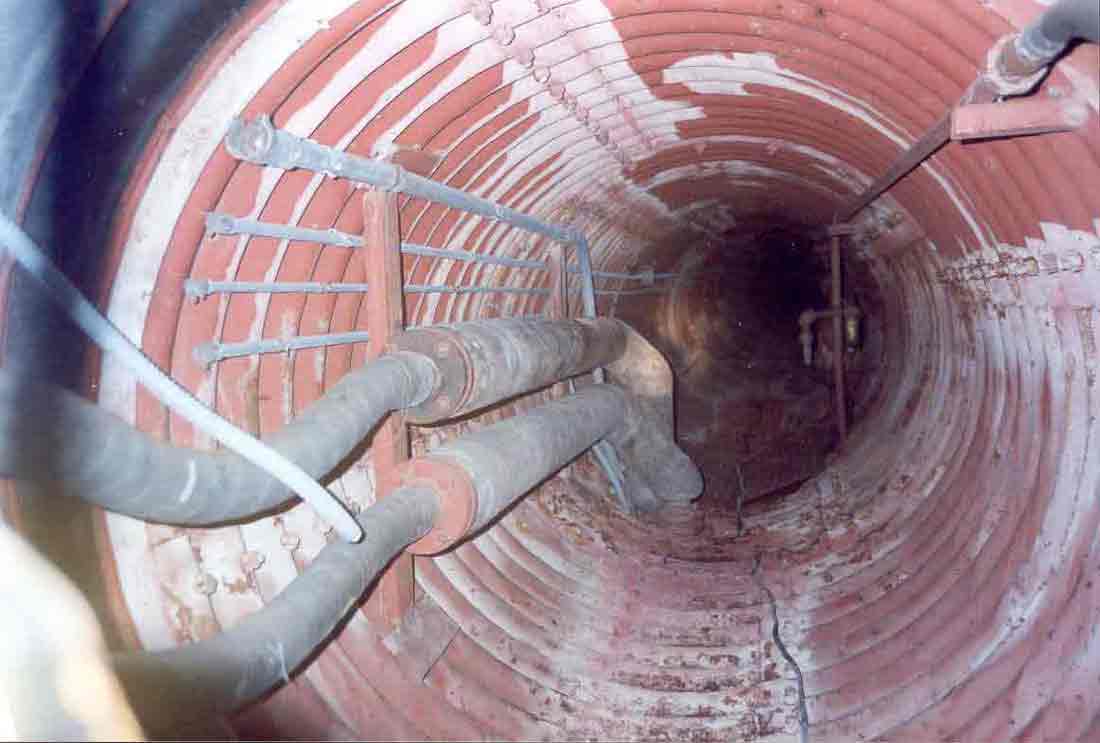
Looking
back down the tunnel from the filtration area. Hot water supply
and return lines drop down to the blast lock and another blast valve is
just beyond the pipes.
|
|
A
first look into the filtration area. The blower is directly ahead
and used to move air at over 28,000 cubic feet per minute along the
tunnel. It's safe to assume that this unit was shut down before
anyone came through here.
|
|
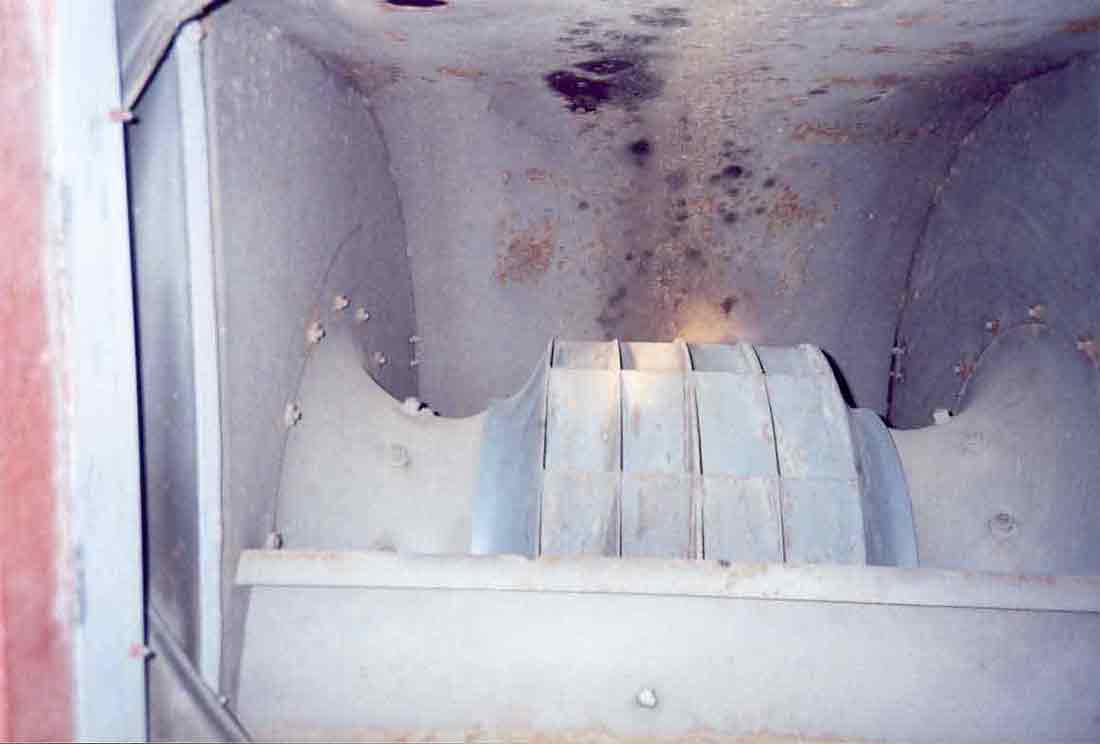
This
really blows! - The
gaping maw of the centrifugal fan.
|
This
was an interesting area to see (for me anyway) because very little
salvage had taken place. This was not a surprise given the
difficulty in reaching this area even before they put a huge concrete
block (swiped from one of the launcher seal chambers-- basically a
sump discharge) over the surface entrance. Only small items like
detectors and environmental controls and damper actuators appeared to
have been removed. Sadly, its not the most interesting area of
the complex. Now if only scrappers had missed the Control Center
and Power House! That would be something to see!
See
more of this area by clicking below:
Launcher
Air Facility Cont. or Go
to Main Map

|
Contact
| Site Map | Links |
Hosted by
InfoBunker