When
a bunch of Airmen are confined underground for extended periods of
time, it is important to provide adequate ventilation. For the
main tunnel junction, power house and control center, air is provided
mostly by the air intake tunnel which branches off from the power
house. Most of the air from the powerhouse is consumed directly
by the voracious diesel generators and the rest supplies the actual
power house, main tunnel junction and control center. The rest
of the complex would not have been adequately supplied by the air intake
tunnel alone and so required separate air intakes and handling.
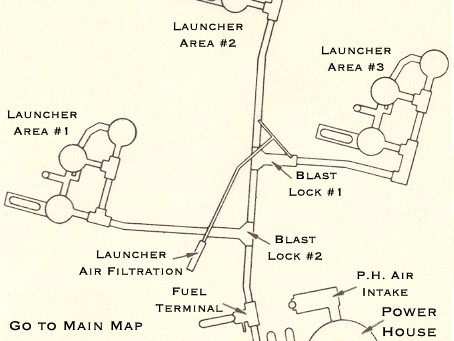
A
separate air handling structure exists to service the remainder of the
complex. The launcher area filtration facility provided a draw
of 28,760 cubic feet per minute (Maximum) to supply fresh, filtered
(to 10 microns), heated and humidified air to the rest of the
complex. A 2' 6" shaft delivered air from the surface to
the filtration facility and supplied it to the blast locks through 2'
diameter ducts. From the blast locks the air was forced to all
other areas of the complex.
An
important question arises from the fact that air was drawn into the
complex through open shafts: If the complex needs to be sealed in
order to be "hard" and not allow the destructive
overpressures of an atomic blast to enter the tunnels or other
structures, how is this possible with air flowing freely through the
complex?
The
answer: Blast valves.
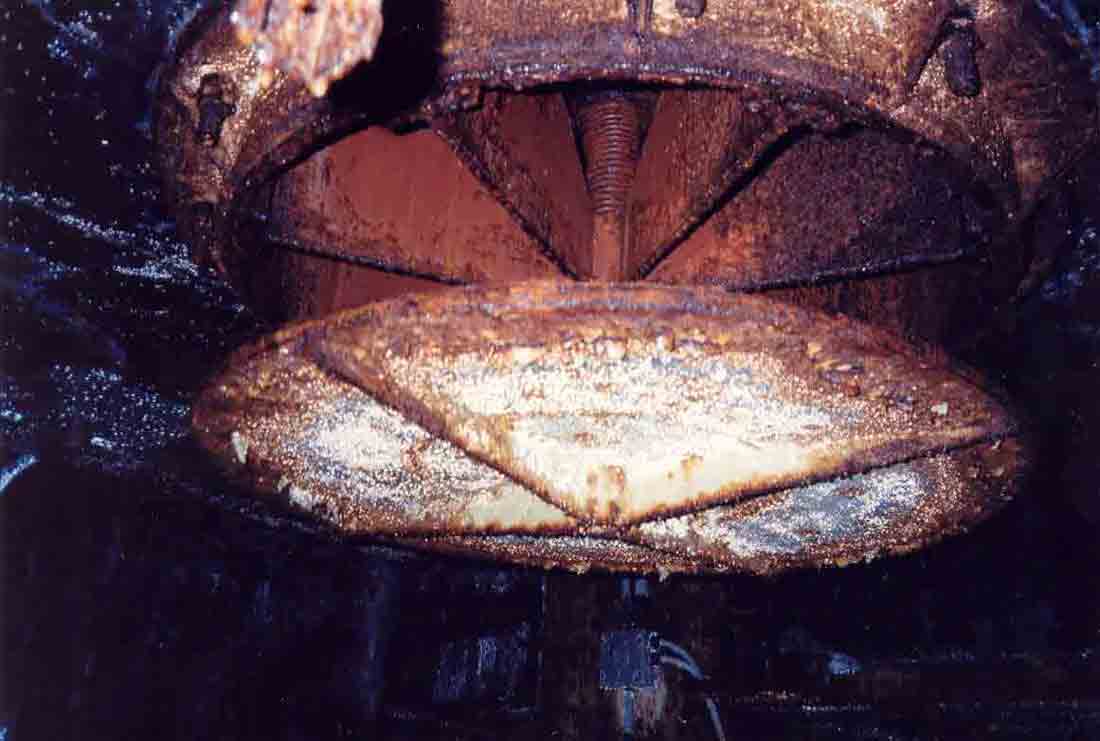
Not
to be confused with blast locks, blast valves were designed to
temporarily seal all air intakes upon detection of a high-pressure
wave. If a blast was detected, the blast valves, which were
located at all air intake and exhaust ports and also in the blast
locks, would slam shut very quickly and remain closed for perhaps a
few seconds allowing the blast to subside before opening again.
Unfortunately,
the filtration provided in the air intake structures shows no evidence
of filtration for nuclear, chemical or biological contaminants.
Radiation detectors were in place, but it is not clear that the airmen
were protected in any way from radiation entering via the air
intakes. Once the blast valves re-opened, contaminated air would
be drawn into the complex.
Ominously,
it seems likely that while personnel in the complex would be
protected from immediate destruction from the blast, allowing them to
affect a retaliatory strike, they might well succumb to radiation
sickness shortly thereafter. There was no oxygen provided inside
the site, and so the complex would need outside air-- contaminated or
not.
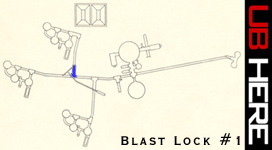
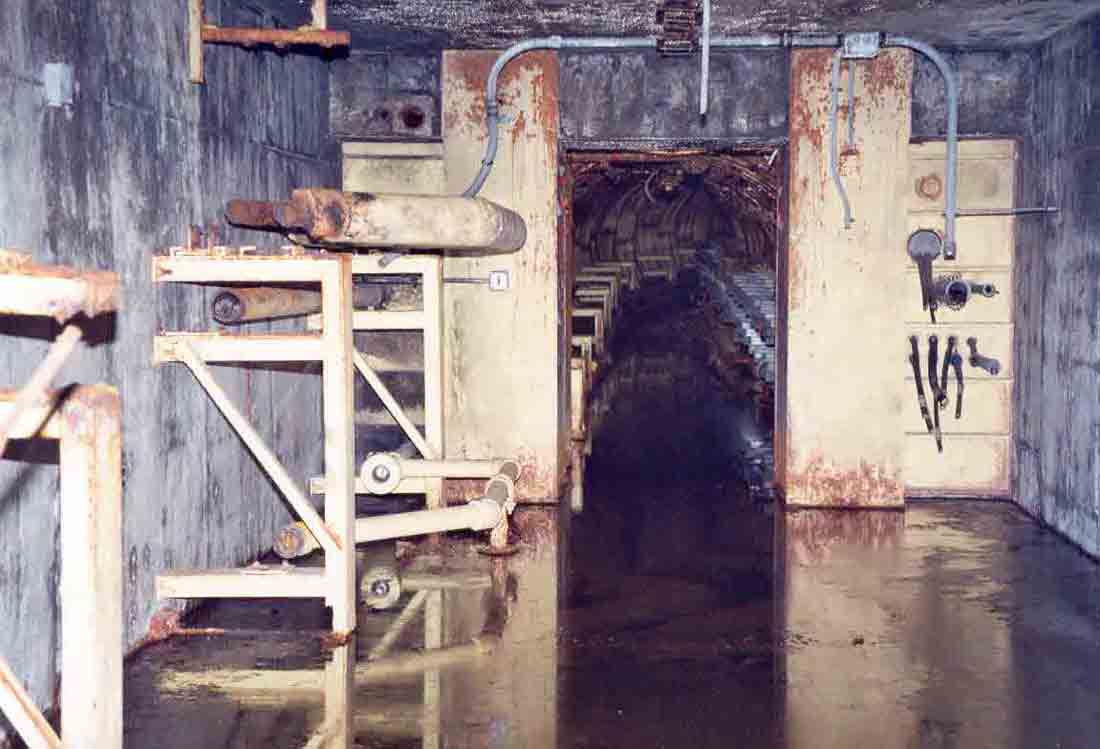
The
Launcher Air Facility has a personnel access at blast lock #1 allowing
maintenance and service of the air handling equipment. In fact,
the access hatch is right above your head...
|
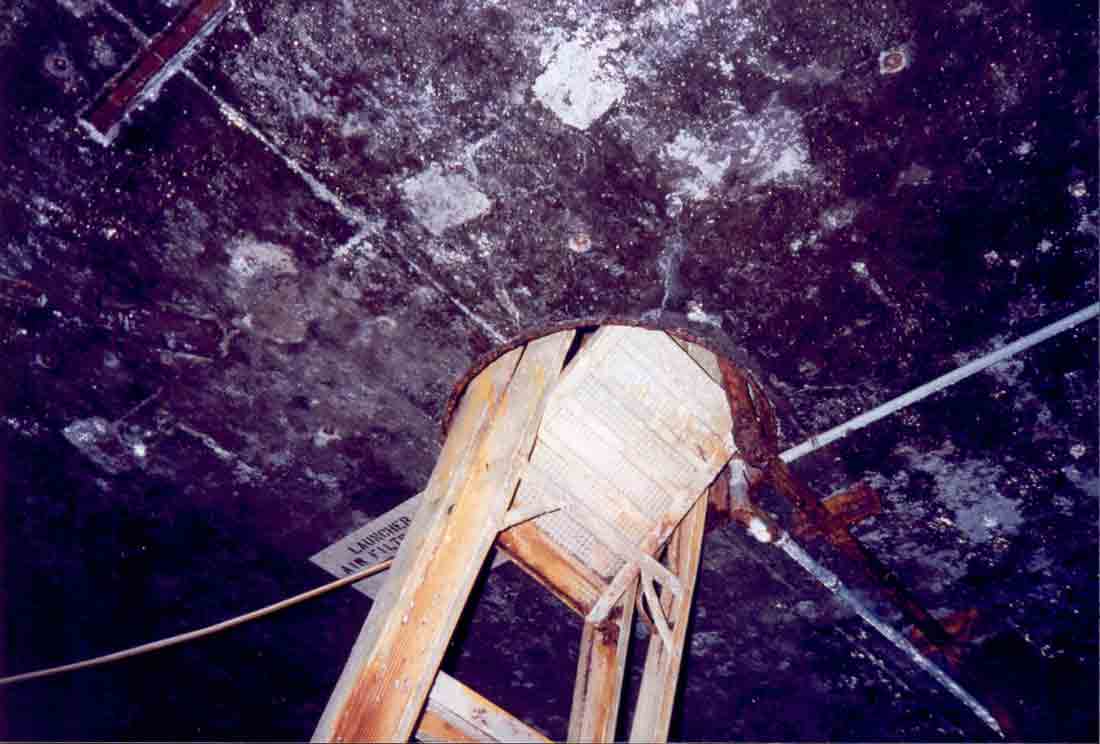
For
my convenience a ladder has been crammed into the access to the launcher
air facility (the original was long gone of course). However, only
a man whose ass is narrow may pass into the launcher air facility.
If yours is not such an ass, then you shall not have it. This
"birth canal" is about 20" in diameter and a fair amount
of room at the opening is blocked by the soddy ladder. Once inside
there is barely enough room for the average man inside this vertical
shaft. You must pull yourself up with your arms until you reach a
foothold about 5 feet up. Every movement brings a shower of rusted
metal flakes raining down on you, so don't look up. Not a haven
for the claustrophobic. Despite all this, it was well worth the
struggle.
|
From
here you can head to the missile
launchers, head up to the cramped tunnels
of the Air Filtration Facility,
retreat to blast lock
#2, or select another location
below.